Dimension3D Barcelona
How to Prepare a File for 3D Printing
You've got a 3D model — or an idea of one — and you want it printed. Before you send it, spending ten minutes checking a few things will save time on your quote, avoid revisions, and produce a better part. This guide covers the practical file-preparation steps that make the difference between a smooth print and one that comes back to the design phase.
Accepted file formats — and which one to send
We accept the standard 3D file formats: STL, STEP, OBJ, 3MF, and IGES. Each has tradeoffs, and which one to send depends on where your model came from.
• STL is the classic mesh format — a surface of triangles. It's universal, small in file size, and works with everything. Downside: it loses all parametric information; once exported, it's just triangles. Send STL if that's what your software exports or if you exported your model manually.
• STEP (or STP) is the professional CAD interchange format. It preserves the actual geometry — planes, curves, features — so we can measure critical dimensions accurately from the source. If you're modelling in SolidWorks, Fusion 360, Onshape or any professional CAD tool, exporting STEP is preferred. It's a bit larger in file size but gives us more to work with.
• 3MF is a modern replacement for STL that carries colour, material and unit information alongside the mesh. If your software supports it, 3MF is often the safest choice for a clean export.
• OBJ is common in artistic and sculpting workflows (ZBrush, Blender). It preserves mesh detail well but carries no engineering data. Fine for decorative or organic models.
If you're not sure: STEP if you have it, STL as a universal fallback. Send it as-is. We'll open it, check it, and get back to you if the file has any issues before quoting.
Wall thickness minimums for FDM
The single most common cause of a printed part that fails is walls that are too thin. FDM prints in extruded lines (typically 0.4 mm wide from a standard nozzle), and walls need to be at least a few line widths thick to hold their shape and function structurally.
Practical minimums for FDM (0.4 mm nozzle):
• Absolute minimum for a wall that must exist: 0.8 mm (two extrusion lines). • Minimum for a wall that must be structural — take load, not crack when handled: 1.5–2.0 mm. • Comfortable default for enclosure walls, brackets, functional parts: 2.0–3.0 mm. • Vertical text or embossed features: at least 0.8 mm wide and 0.4 mm deep for readability.
Walls thinner than 0.8 mm may not print at all — the slicer will skip them. Walls between 0.8 and 1.2 mm will print but are brittle. If your CAD includes sub-millimetre walls (e.g. shells at 0.5 mm) that were fine for injection moulding, they need to be thickened for FDM. If you're not sure whether your part meets these minimums, we'll flag it during file review.
Realistic tolerances and how to design for them
FDM is not a precision machining process. Typical accuracy on a well-tuned FDM printer is around ±0.2 mm across most dimensions — sometimes tighter on individual features, sometimes wider on large parts due to thermal contraction.
What this means in practice:
• Holes print smaller than modelled, typically by 0.1–0.3 mm on diameter, because the extrusion overshoots slightly on the inside of curves. If you need a Ø5 mm hole for a Ø5 mm shaft, model it at Ø5.2–5.3 mm, or plan to drill it out after printing.
• Snap-fits and press-fits need clearance. For two parts that must slide together, allow at least 0.2 mm clearance on each mating surface. For a friction press-fit, 0.1 mm may work but is at the edge of reliability.
• Threaded holes: printing threads directly in FDM works for M6 and larger, but the surface finish is rough. For anything smaller or load-bearing, we typically install a heat-set brass threaded insert (M3, M4, M5 are stocked sizes). Model the hole for the insert, not the thread — we'll do the rest.
• Overall dimensions on large parts (>150 mm) can shrink 0.5–1.0 mm from thermal contraction, especially in ABS or ASA. For a critical outer dimension, we can scale-compensate at slice time.
If a specific tolerance matters — a mounting-hole spacing, a critical clearance — call it out when you send the file. That's the difference between a quote we can commit to and one we can't.
Overhangs, supports and part orientation
FDM prints layer by layer from the bed upward. Any part of your geometry that overhangs unsupported space needs support material printed underneath it — which uses filament, takes time, and leaves a rougher surface where it's removed.
Rules of thumb:
• Overhangs steeper than 45° from vertical usually need support. A 30° overhang is easy, a 60° overhang needs support, a full 90° overhang (horizontal shelf sticking out) always needs support.
• Bridges — flat sections spanning between two supports — can print unsupported up to about 20–30 mm on a well-tuned printer. Longer bridges need support underneath.
• Orientation changes everything. A part that looks impossible to print in the orientation modelled is often trivial to print rotated. When we review your file, we choose the orientation that minimises supports and maximises the strength of critical features (FDM parts are strongest along the layer plane, weakest between layers — so a hinge, snap-fit or load-bearing tab should be printed with the load direction parallel to the layers, not perpendicular).
You don't need to design for a specific orientation — that's part of what file review is for. But if a feature has to be a specific finish or a specific strength direction, mention it so we orient accordingly.
Hole sizing, thread inserts and press-fits
Small mechanical features are where FDM prints most often disappoint if the design wasn't adjusted for the process. A few practical numbers:
• Screw holes for wood or self-tapping screws: model at the shaft diameter (e.g. Ø3 mm for an M3 self-tapper). The plastic gives enough for the thread to bite.
• Holes for metric bolts passing through: model at bolt diameter + 0.3–0.5 mm clearance. An M4 clearance hole should be Ø4.4–4.5 mm in the model.
• Threaded inserts (heat-set brass inserts): we install these commonly in M3, M4 and M5. Model the hole per the insert manufacturer's spec — usually about the outside diameter of the knurled portion minus 0.1 mm. If you're not sure, model a Ø4.5 mm hole for M3, Ø5.7 mm for M4, Ø6.7 mm for M5, and we'll adjust at file review.
• Press-fit shafts: allow 0.1–0.2 mm undersize on the hole for a friction fit. Tighter than that is unreliable; looser than that will spin.
• Living hinges in TPU or PETG: 0.5–1.0 mm thickness, at least 5 mm wide, with rounded transitions. FDM living hinges work but have shorter fatigue lives than injection-moulded equivalents.
If you're designing from scratch specifically for FDM, these numbers save iteration. If you're adapting a design from another process (injection moulding, CNC), we'll walk through the changes needed at file review.
What if you don't have a file at all
A significant share of our orders come in with no CAD file at all. That's fine. The process is different, not worse.
What we need instead of a file:
• A clear photograph of the part or object — with a ruler, calliper or a Euro coin visible for scale. Two or three angles help. If the part is broken, photograph the pieces separately as well as together.
• Key dimensions if you know them: overall height, width, depth, hole diameters, thickness of any critical features. A quick sketch with measurements written on it works well.
• A description of what the part does: it holds this thing to that thing, it needs to flex, it goes outside, it takes this much weight.
Send those over WhatsApp and we'll assess whether we can reconstruct the geometry from the reference. For simple parts — clips, brackets, spacers, replacement plastic bits from appliances — the reconstruction is usually straightforward and included in the standard quote. For more complex geometry, we may need a modelling fee, which we quote upfront before starting.
The worst case is that we look at the reference and tell you the reconstruction isn't practical — at which point we can point you toward alternatives (3D scanning, or a modelling contractor). We won't take on a job we can't deliver.
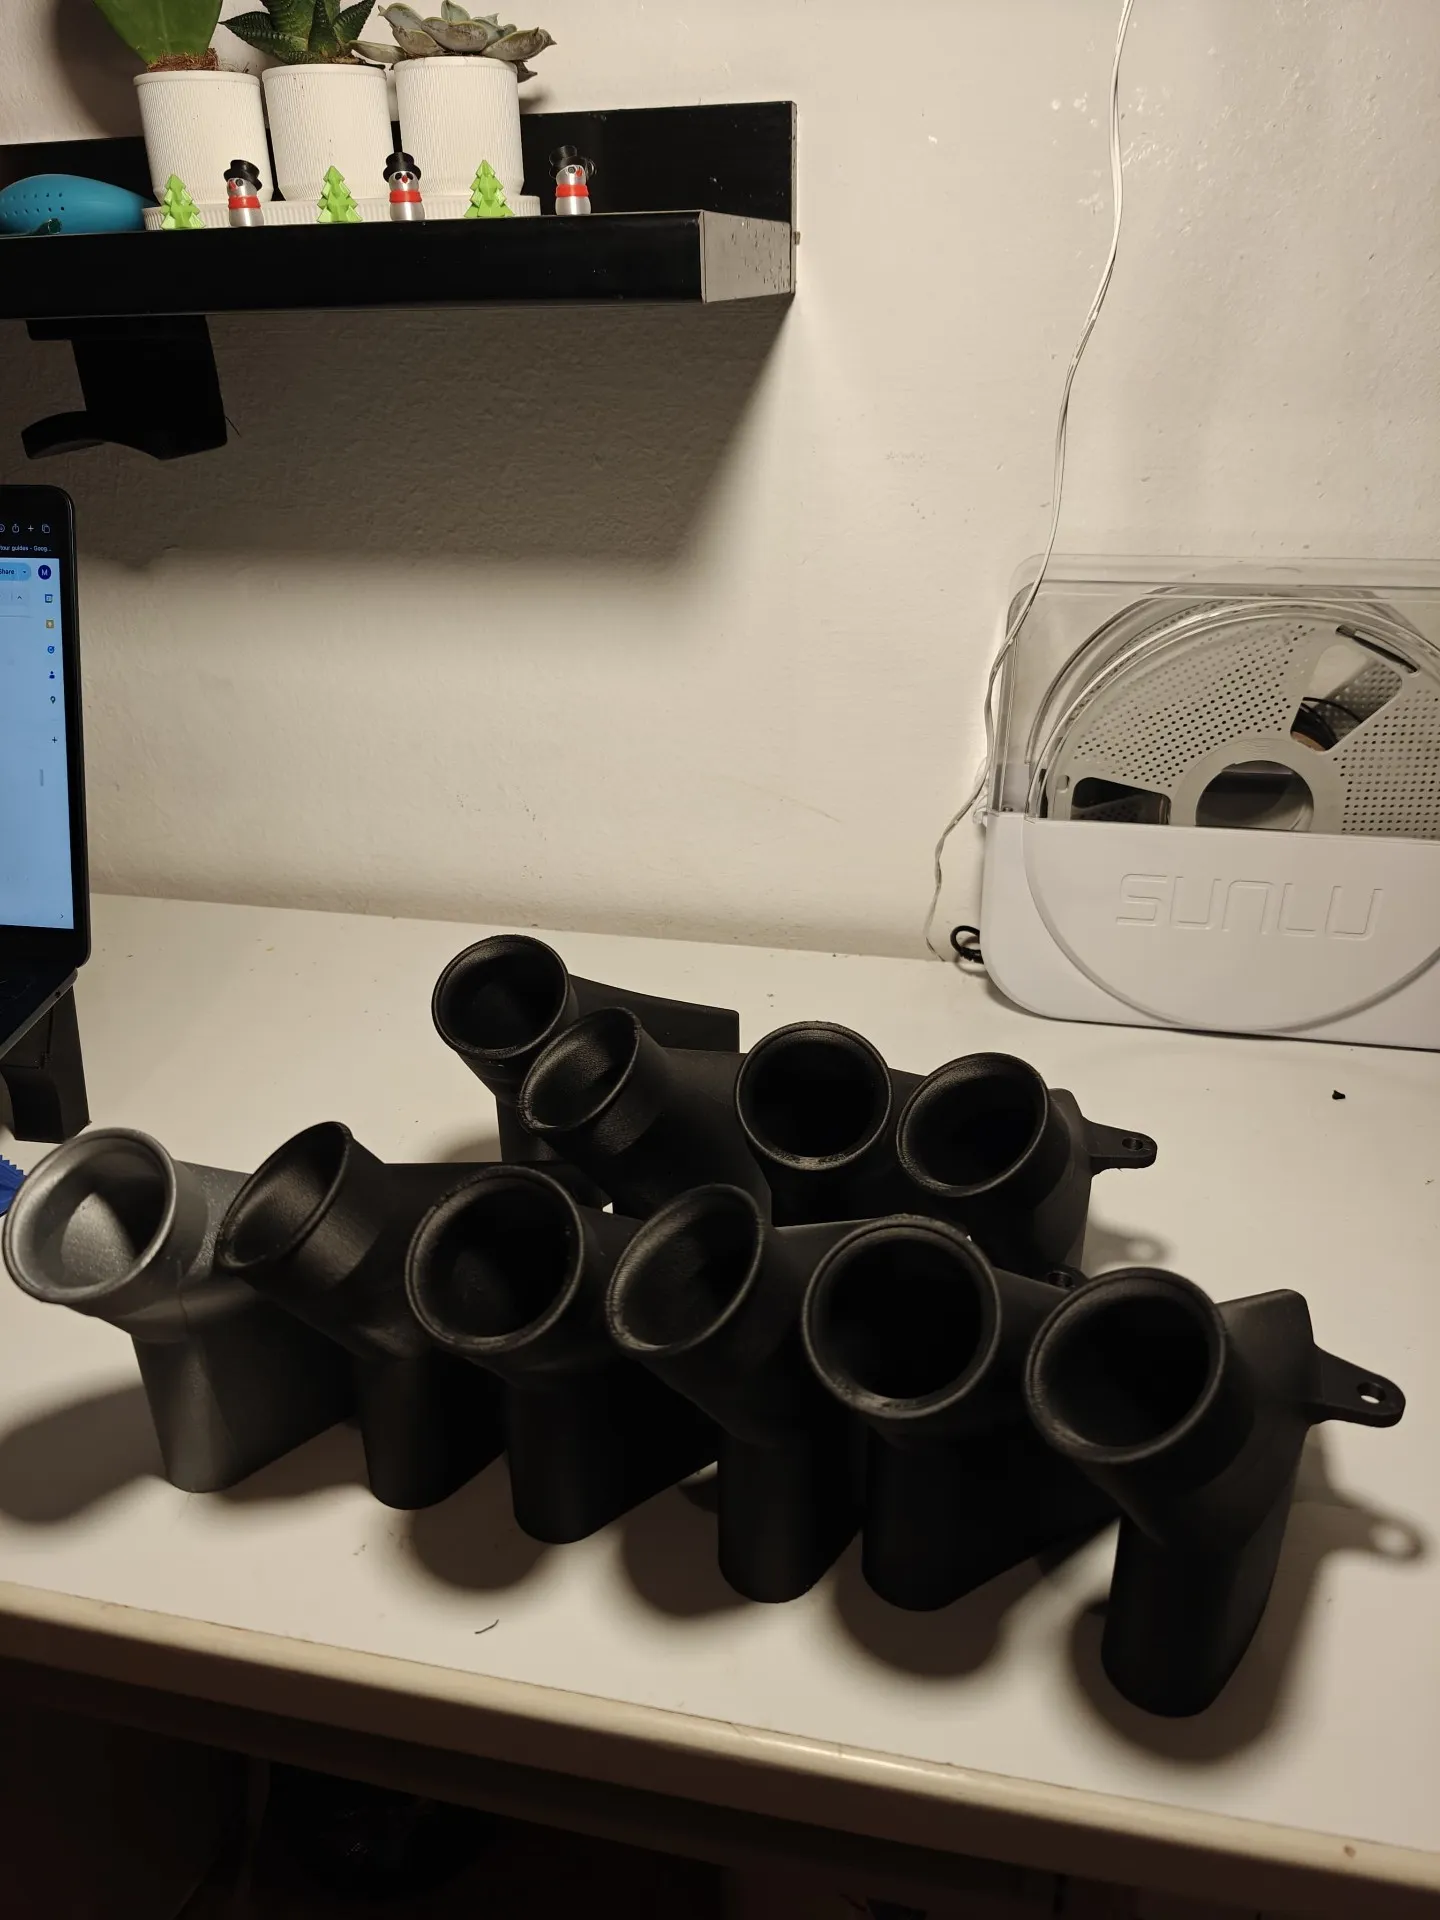
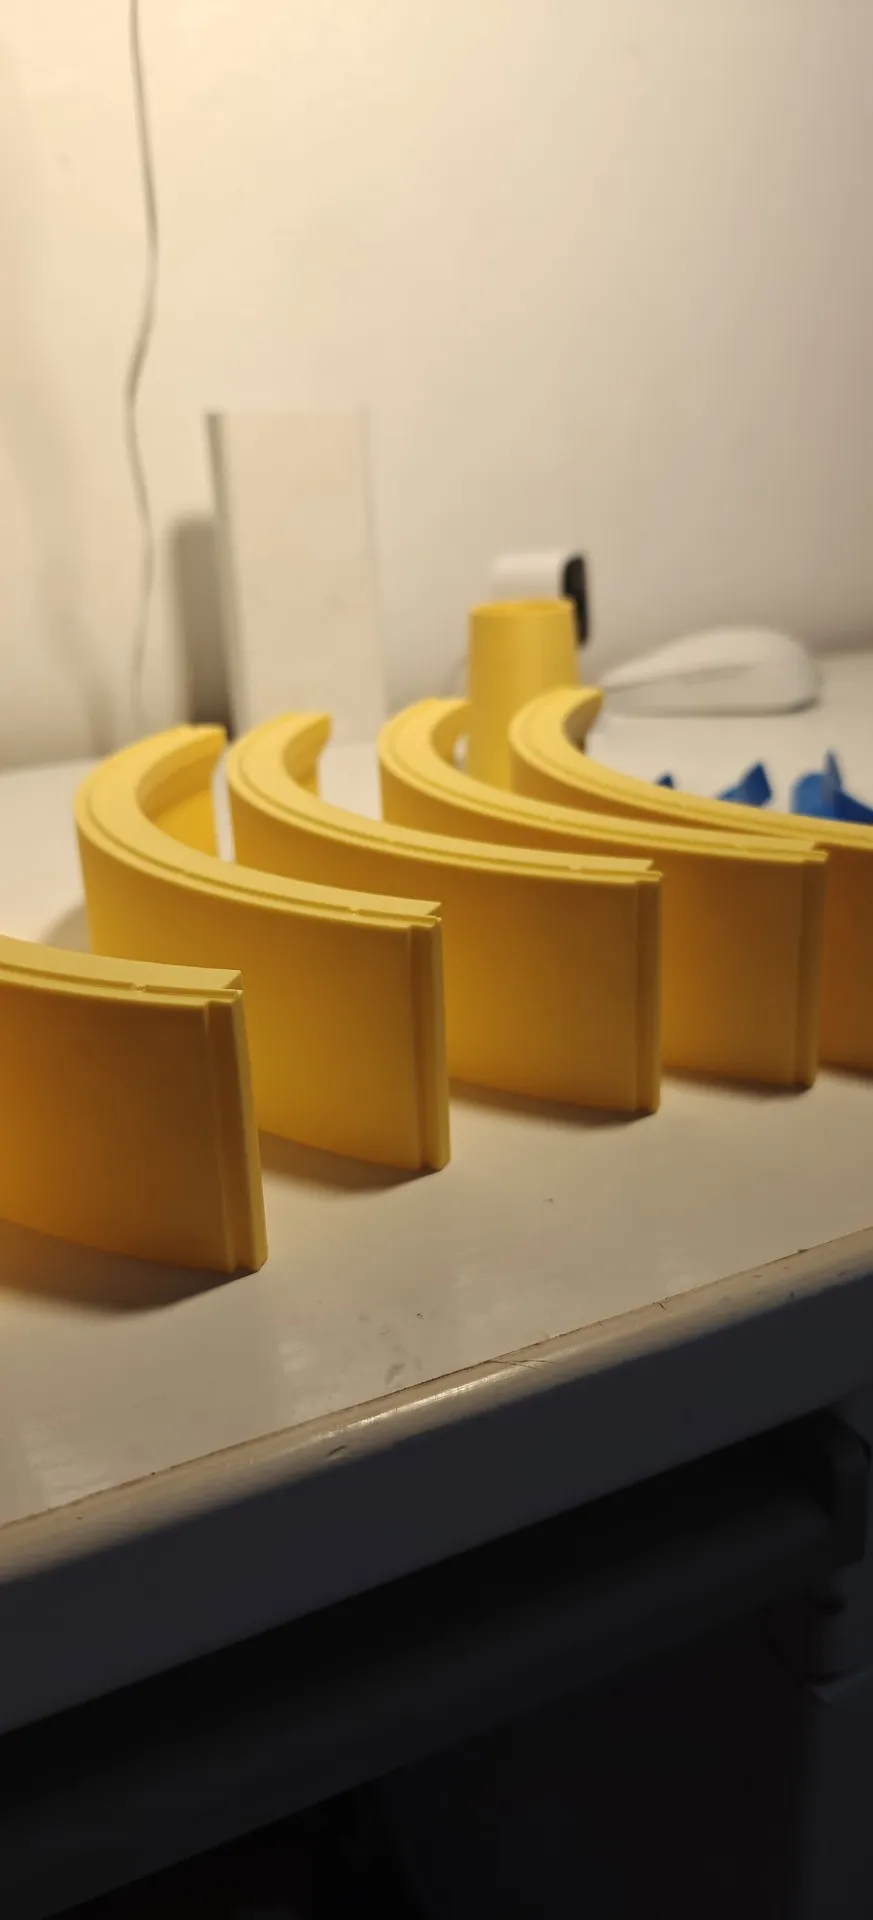
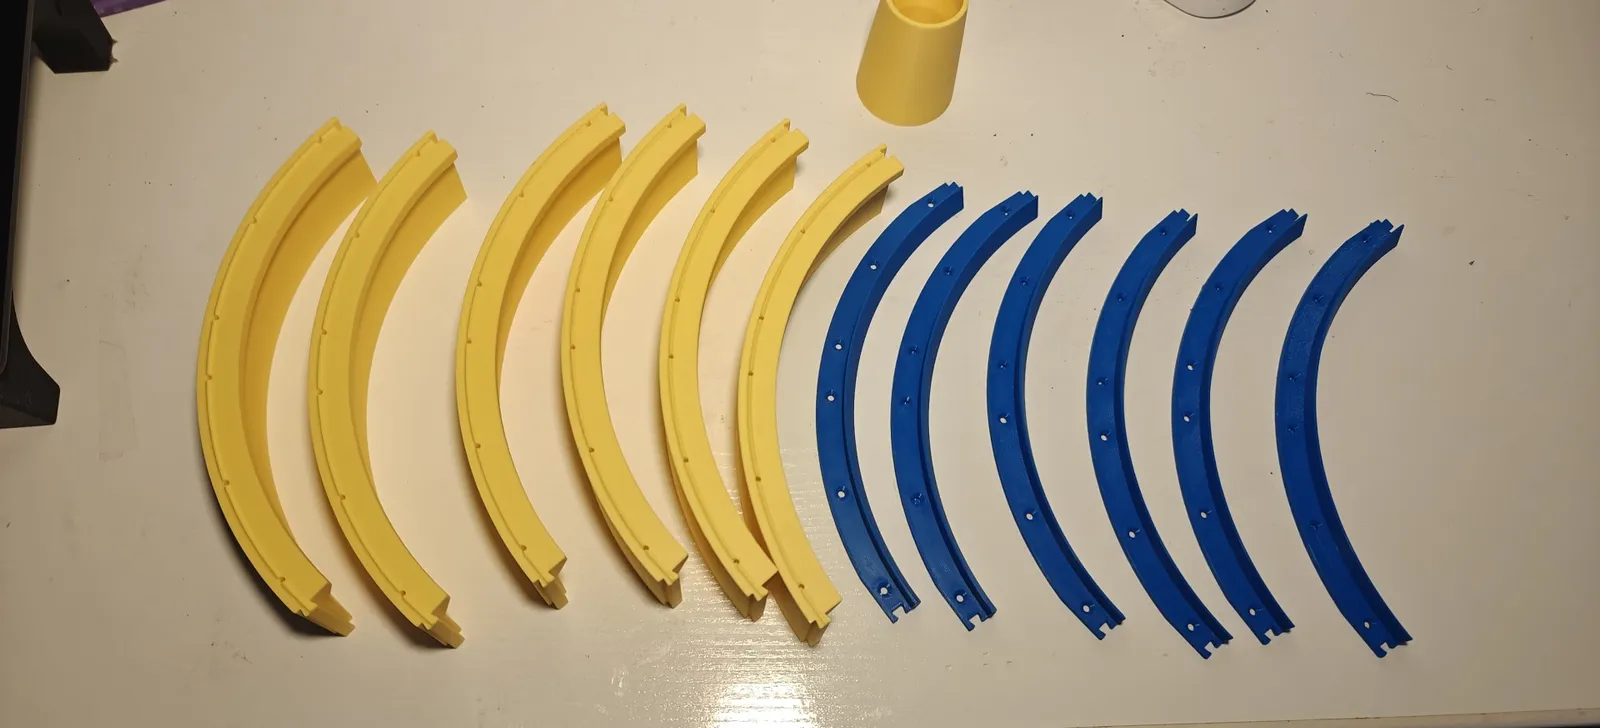
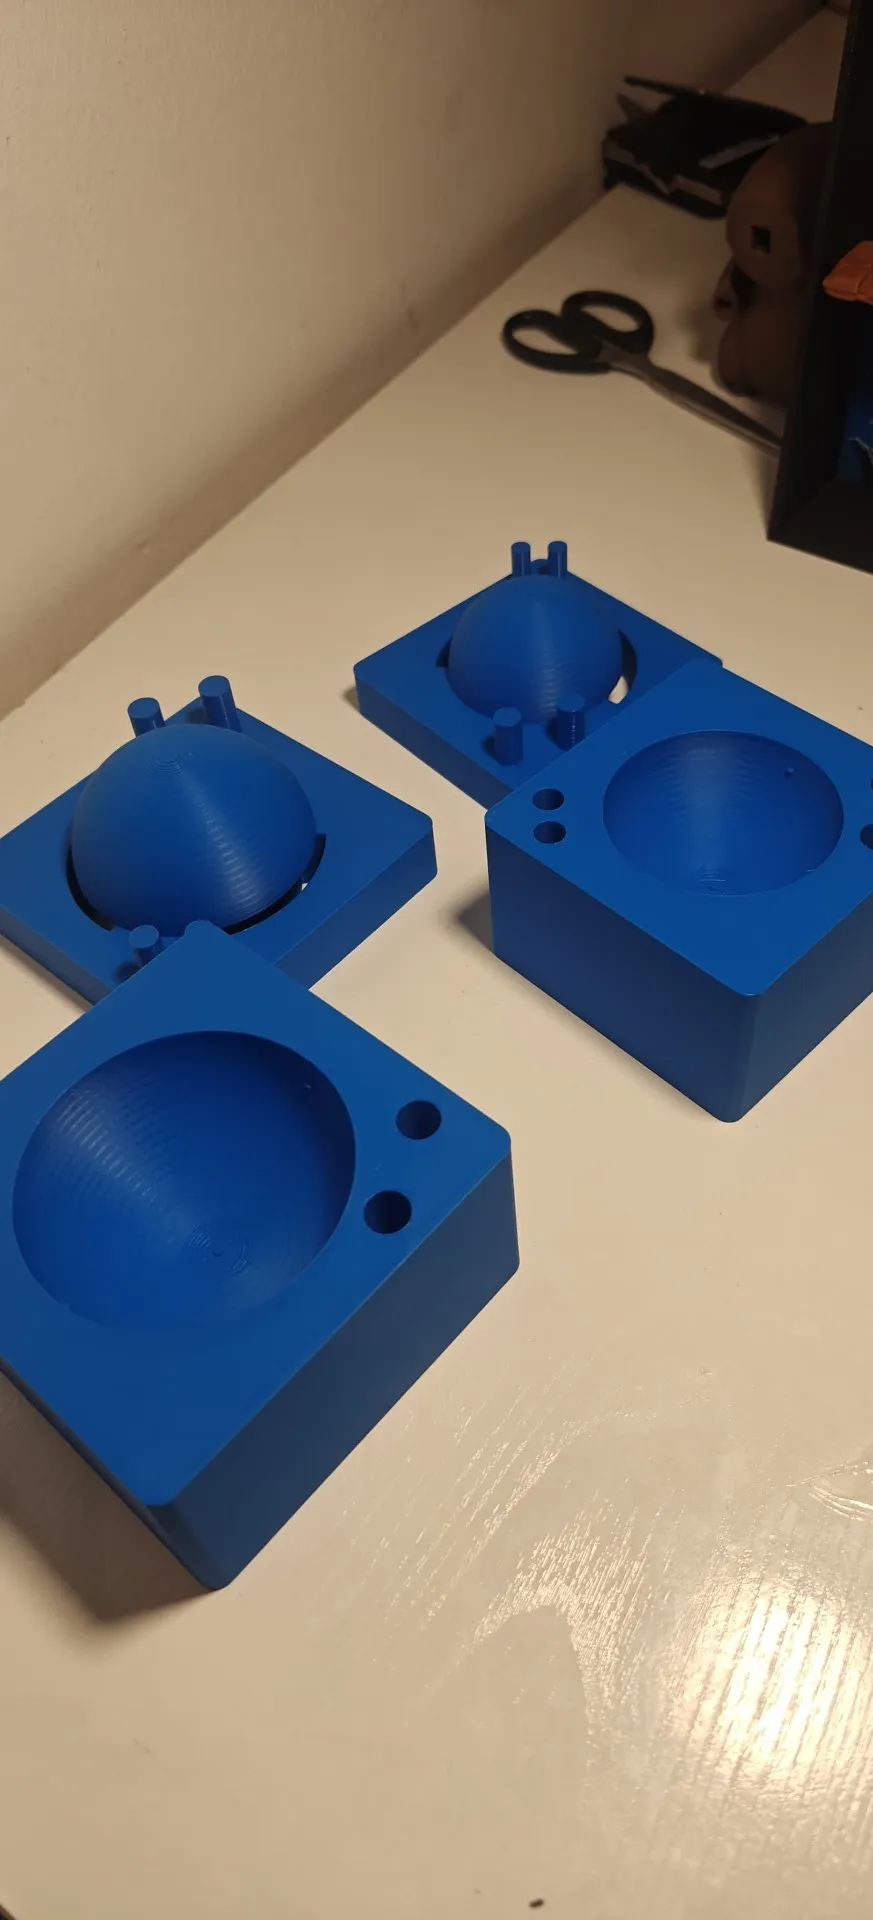
Real prints from our Barcelona workshop


Instant price — from €10
Upload your files — get an instant price
Upload your STL files — no account, no commitment.
Drop your files here
STL, OBJ, 3MF, GLB — or a photo of what you need
No 3D file? We'll design it from a photo or idea
Drop your files here
STL, OBJ, 3MF, GLB — or a photo of what you need
STL · 3MF · OBJ · STEP
No file? Send us a photo on WhatsApp
Drop your files here
STL, OBJ, 3MF, GLB — or a photo of what you need
No 3D file? We'll design it from a photo or idea
Default settings for all parts
Ready to start your project?
Send your file or describe your idea. Free quote in under 1 hour.
Frequently Asked Questions
Customer Reviews
Real feedback from customers we've worked with in Barcelona
"Excellent on-demand 3D printing service, very helpful and patient customer service. Recommended!"
"I'm working for a construction company. We needed a special round shadow gap profile for a wall, but there was no way to buy one because nobody sells it. So we decided to make it with the help of 3D printing. It was fast, affordable, and worked perfectly."
"Espectacular, compré dos maquetas de Stranger Things para los Funkos de Kinder Joy y quedaron geniales. Servicio y calidad de 10."
"Todo lo impreso está tal cual lo pedí. Gran calidad de impresión y persona seria y de confianza. 100% recomendable."
"Perfecto con las medidas exactas. Muy bien trabajado."
"Trabajo perfecto. Atención inmejorable. Muy contento."
Happy customers trusting Dimension3D for 3D printing in Barcelona and beyond
Worked with Dimension3D?
Share your experience and help others discover our service
All reviews are manually verified before publishing to ensure they come from real customers.